How To Make A Pressed Flower Suncatcher - Tutorial
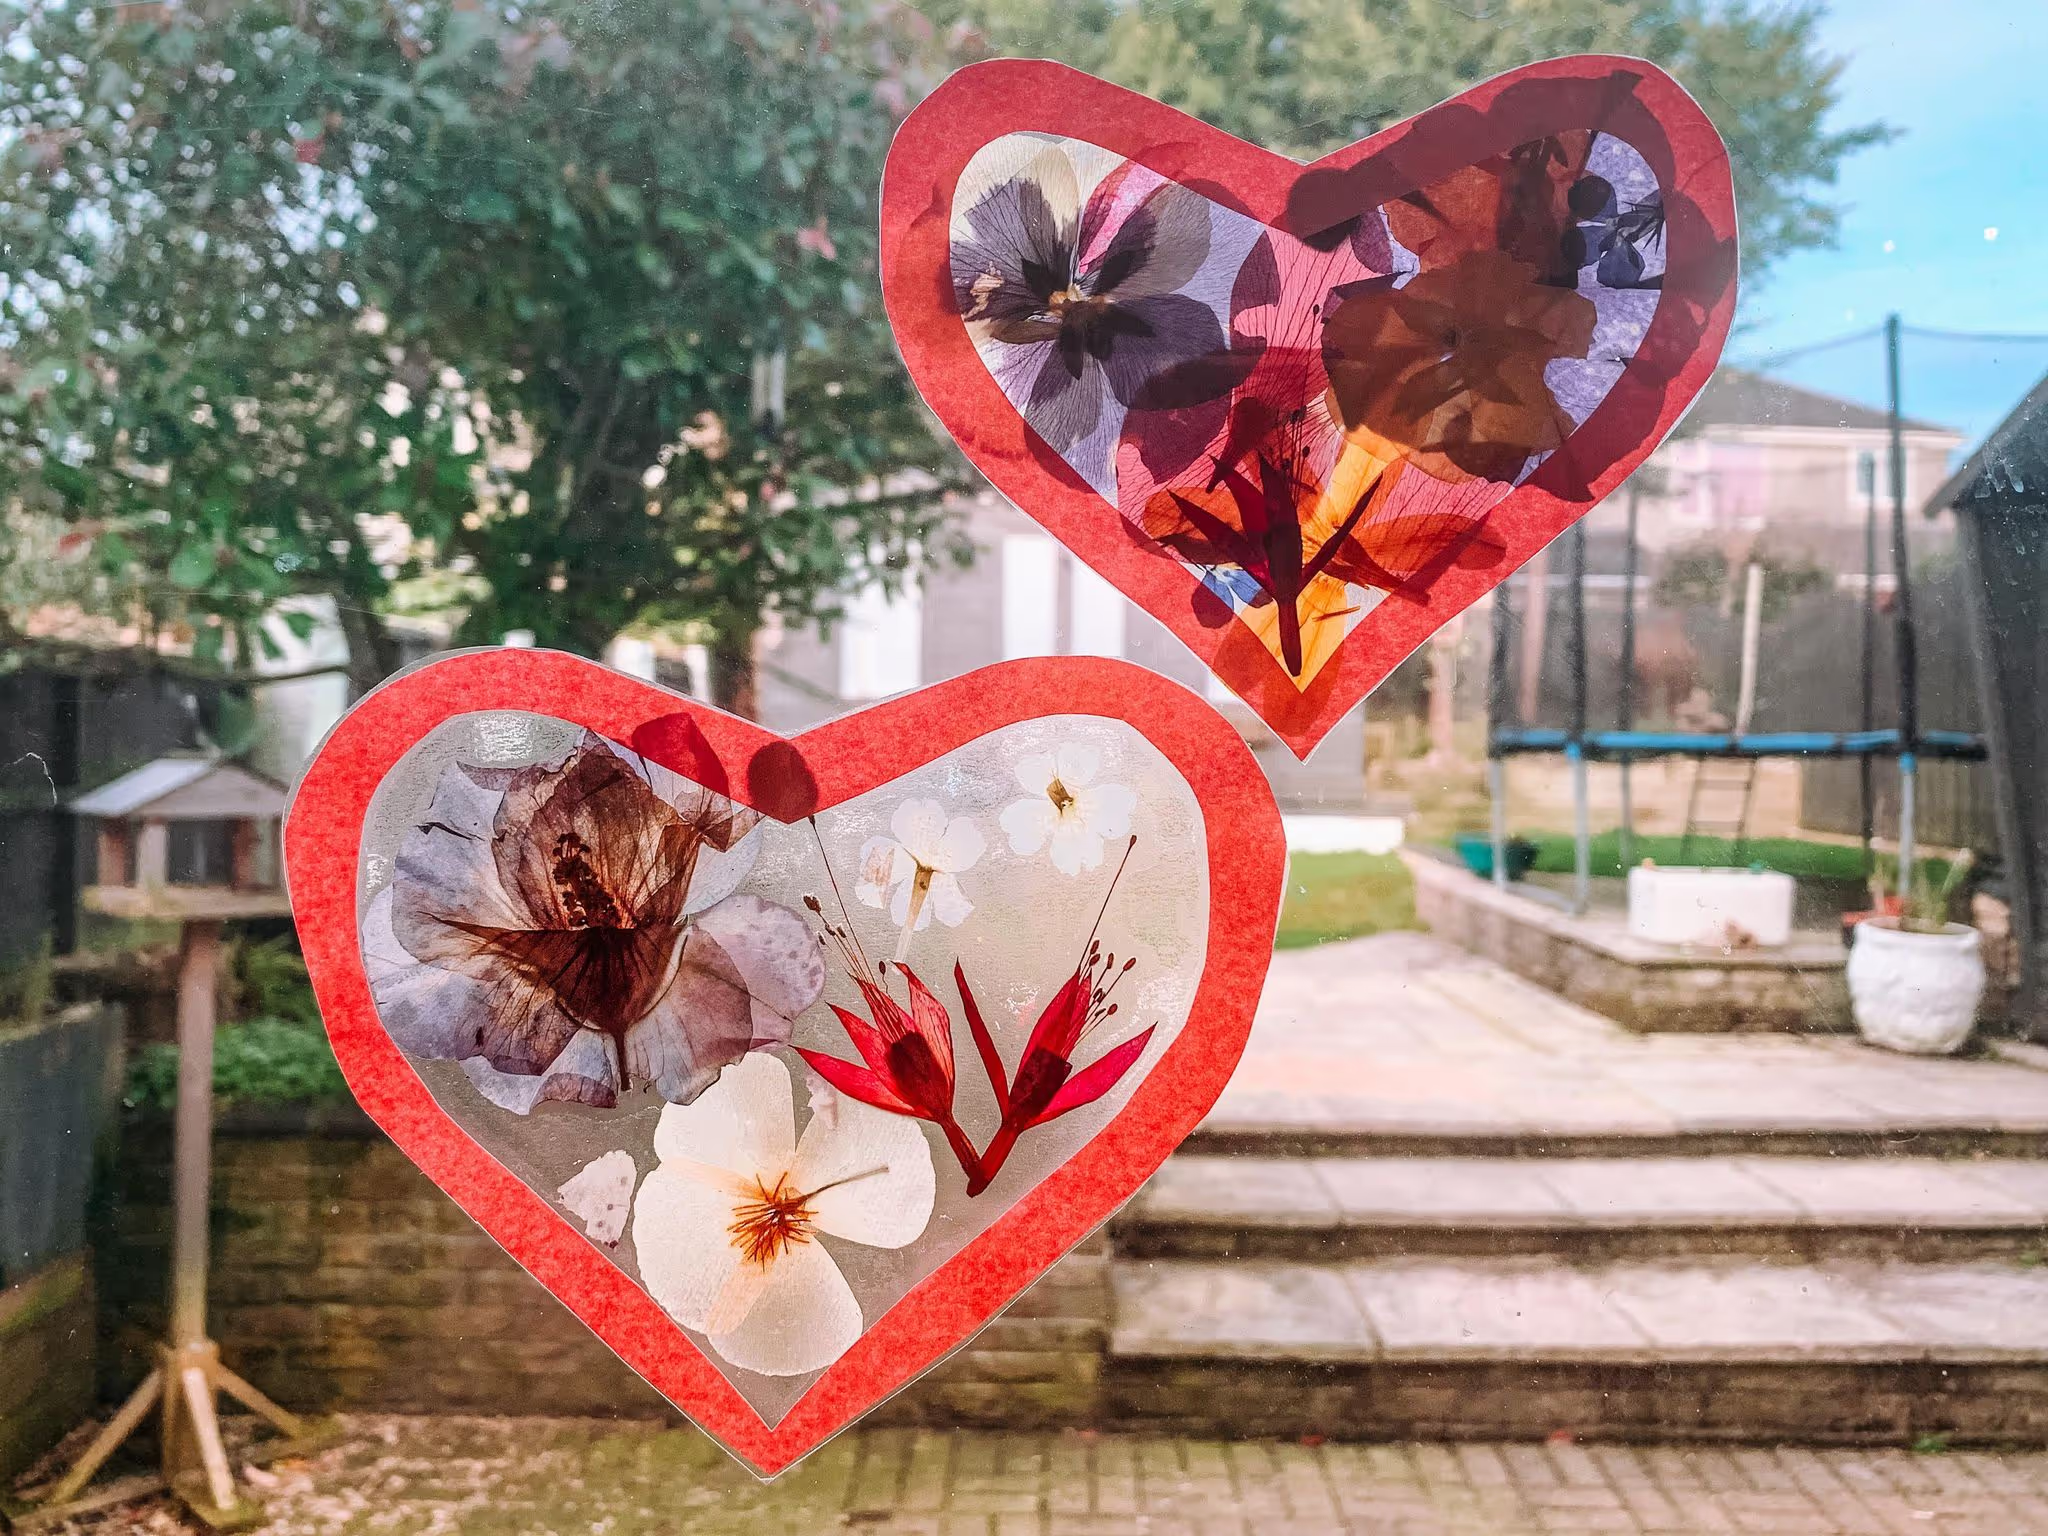
Suncatcher crafts are amazing. Flower petals and leaves are so pretty when held up to the light and you can use them to brighten up your windows with this beautiful flower art, suncatcher design.
What is catching the Sun ? Make a DIY Suncatcher
Suncatchers come in many shapes, sizes and colours. They are made of all different types of materials like
- Pressed Flowers (Floral suncatchers)
- Coloured Tissue Paper (Paper Suncatchers)
- Coloured Feathers (Feather Suncatchers)
- Transparent Coloured Cellophane Sheets (When direct sunlight is on it, the colours will reflect into your home with this one!)
- Use a heart shaped paper punch to cut out coloured hearts out of tissue paper
They are the optical equivalent of a wind chime. Wind chimes make pretty sounds for your ears while suncatchers are a treat for your eyes to look at.
Pressed flower art and how to press flowers
Pressed flowers art is a like bit like watching all the series of 'FRIENDS' .. it just goes on and on but you love every minute of it! Pressing your flowers goes hand in hand with drying your flowers and broadly speaking, 'pressed flower art' is the same as 'dried flower art'
There are 4 principle methods for pressing flowers:
- Using Paper - The paper will need to be flat and be able absorb moisture. Blotting paper is generally agreed to be the best (and used in all these methods of pressing), with flat card being second.
- Using Books - The most common way of pressing flowers for dried flowers art. Use blotting paper above and below the flowers and places within the pages of a sturdy book. Then stack other books (or weighty items on top). Leave for 4 weeks. Tada. Pressed flowers!
- Using an Iron - The fastest method but the final colour of the flowers can be really flat. Use blotting paper and books for 60 mins to flatten naturally the (with no water in the iron and on lowest heat setting) iron on the sheets of paper, keeping the iron moving at all times.
- Using a flower press - This is worth the investment and will definitely yield you the best results hands down! You can buy them from absolultely anywhere on the interwebs (so I am not going to link to them) but you will struggle to spend over £30 for a highend flower press and about £5 for a budget flower press. Why not even make a your own homemade flower press. That youtube link shows you how to make a flower press in minutes! Use blotting paper once again, you can press many flowers on different layers of the flower press : card/paper/flowe/paper/card. Leave for 4 weeks and boom! Professional Flower Pressing Acheivement Unlocked !
So, you've pressed your flowers successfully (hopefully with your DIY flower press). Now what to do with pressed flowers...
Can I make a floral suncatcher?
Yes. Yes you can! I'm going to be showing you step-by-stpep, how I made my pressed flower suncatchers for Valentines Day window decorations. I made these in the summer with the children to give as gifts to the ladies in our family. The children really enjoyed the process of collecting the flowers and pressing them, then a couple of weeks later seeing them pressed and then getting to use them in a craft. My little groms loved making these suncatchers for kids.
Suncatcher designs are unlimited
Obviously I fashioned this suncatcher design to suit the narrative of Valentines day, so a heart shape was employed. Your design for sunshine crafts and flowers should not stop there however! Unleash your simple real flower suncatcher craft and you will have a beautiful flower suncatcher for absolutely any occasion ;-)
What you will need
- Coloured A4 card
- Clear sticky back plastic
- Pressed Flowers (you can use a flower press or some kitchen roll in-between heavy books. Leave undisturbed for 7-10 days)
- Scissors
How To
1. First take your A4 card and fold in half. On the folded side cut out half of a heart
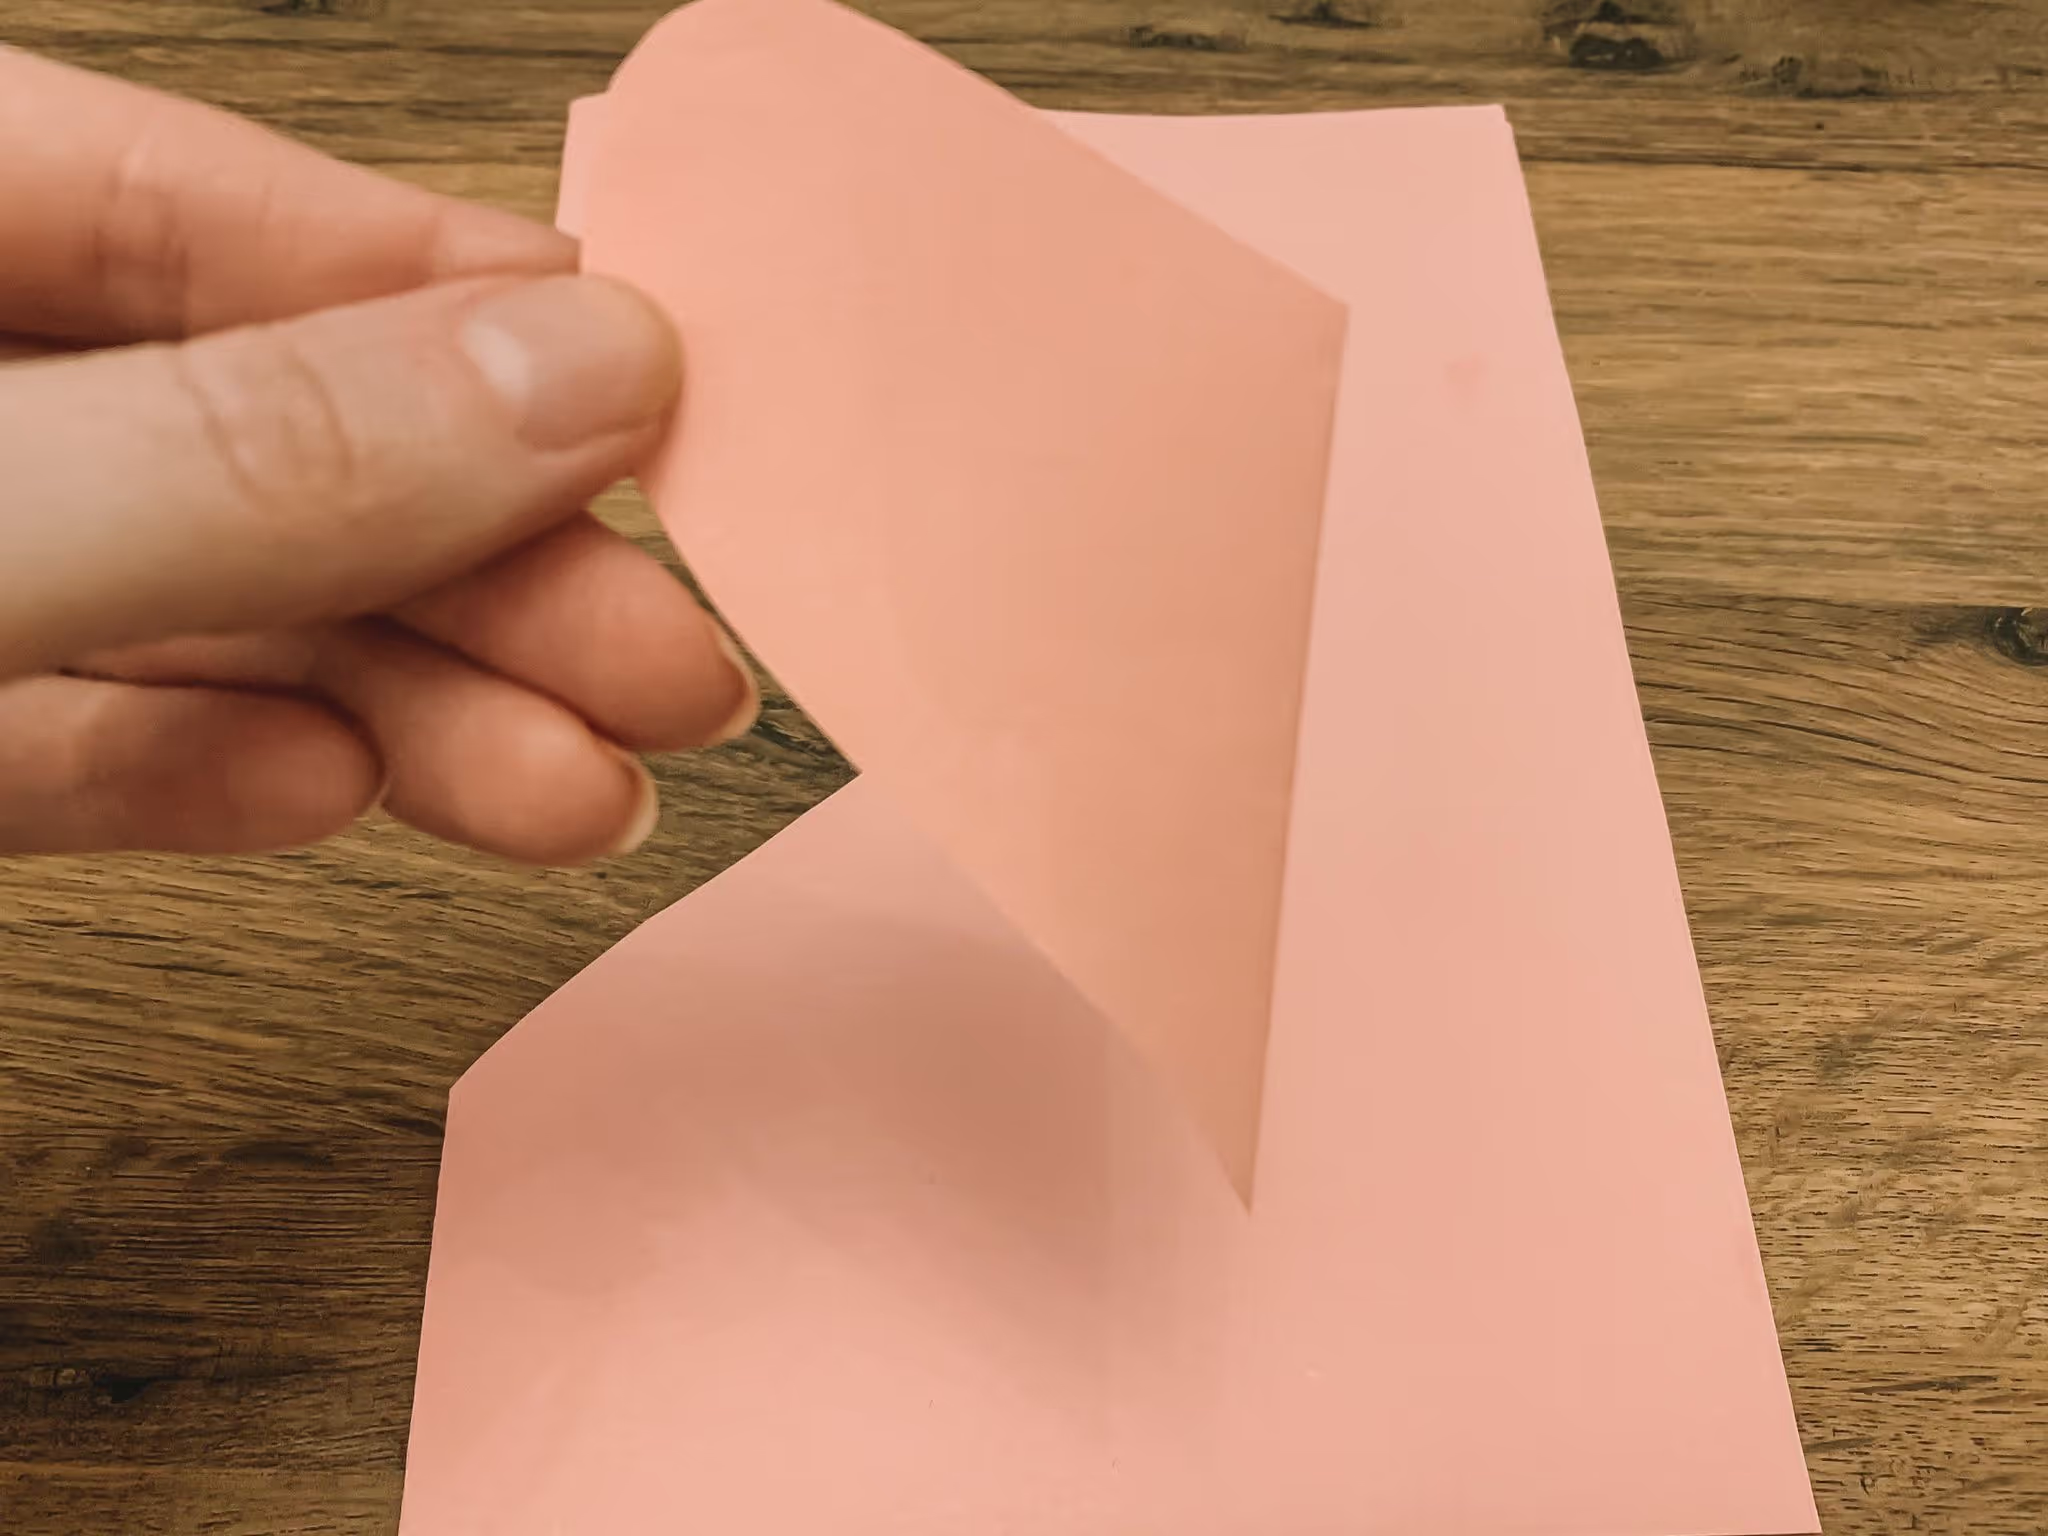
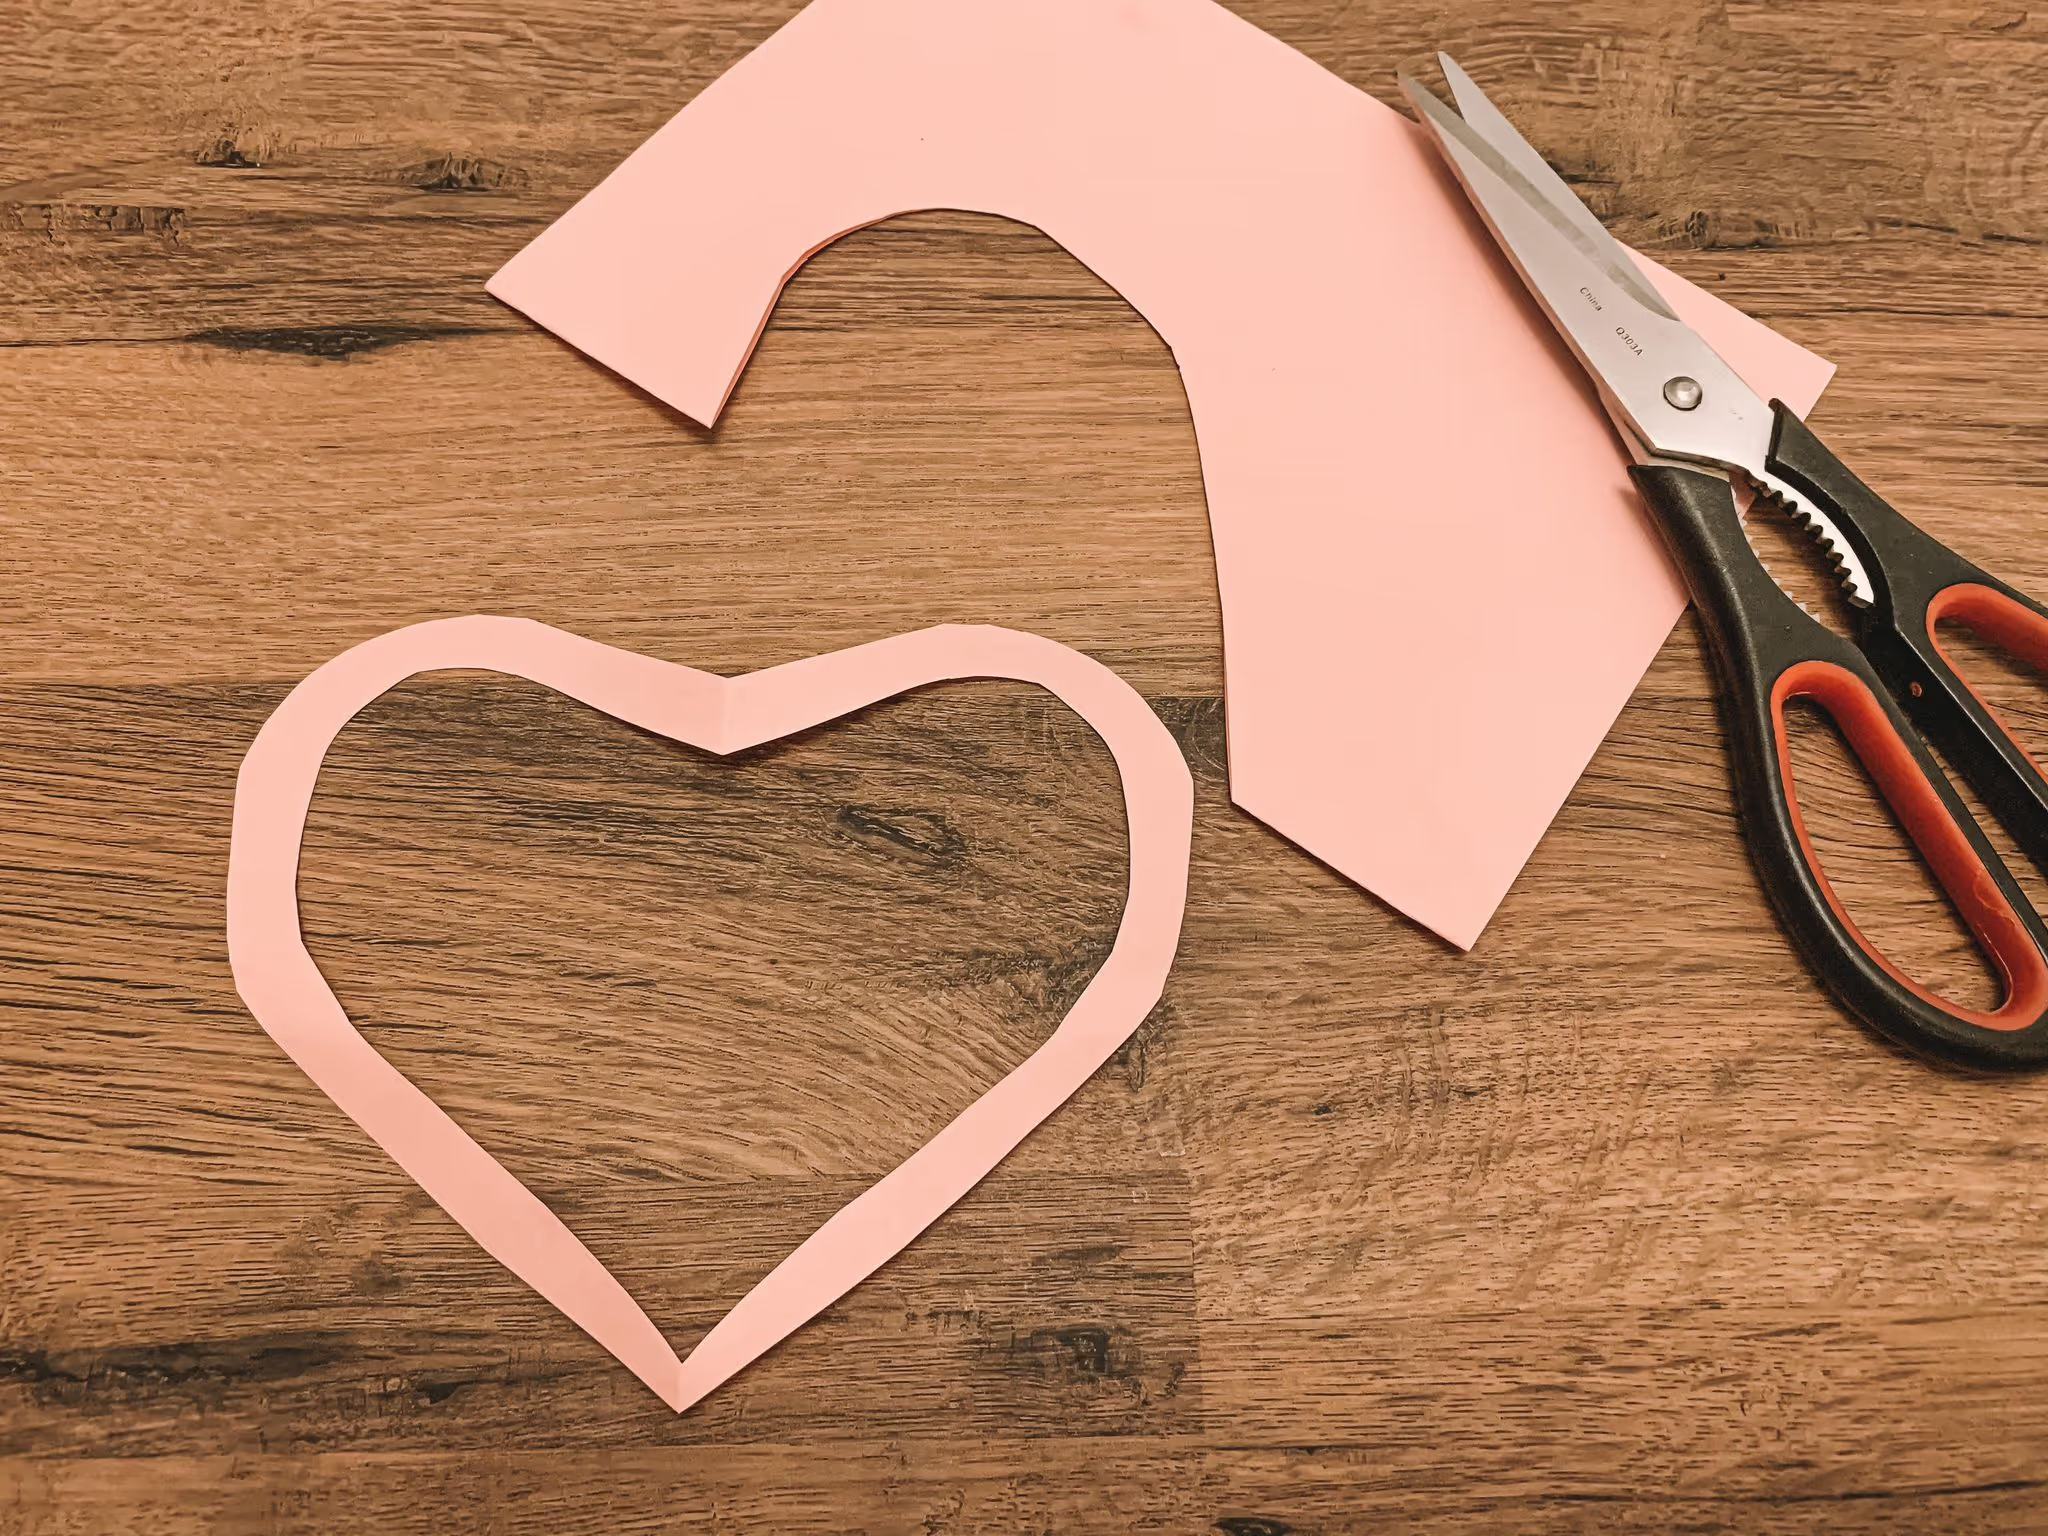
2. You're then going to cut out a heart outline (Mine are about 0.6cm)

3. Unfold the heart. Voila you've got your perimeter for framed dried flowers.
4. Take your sticky back plastic and measure out 2 pieces both big enough to cover your heart front and back..
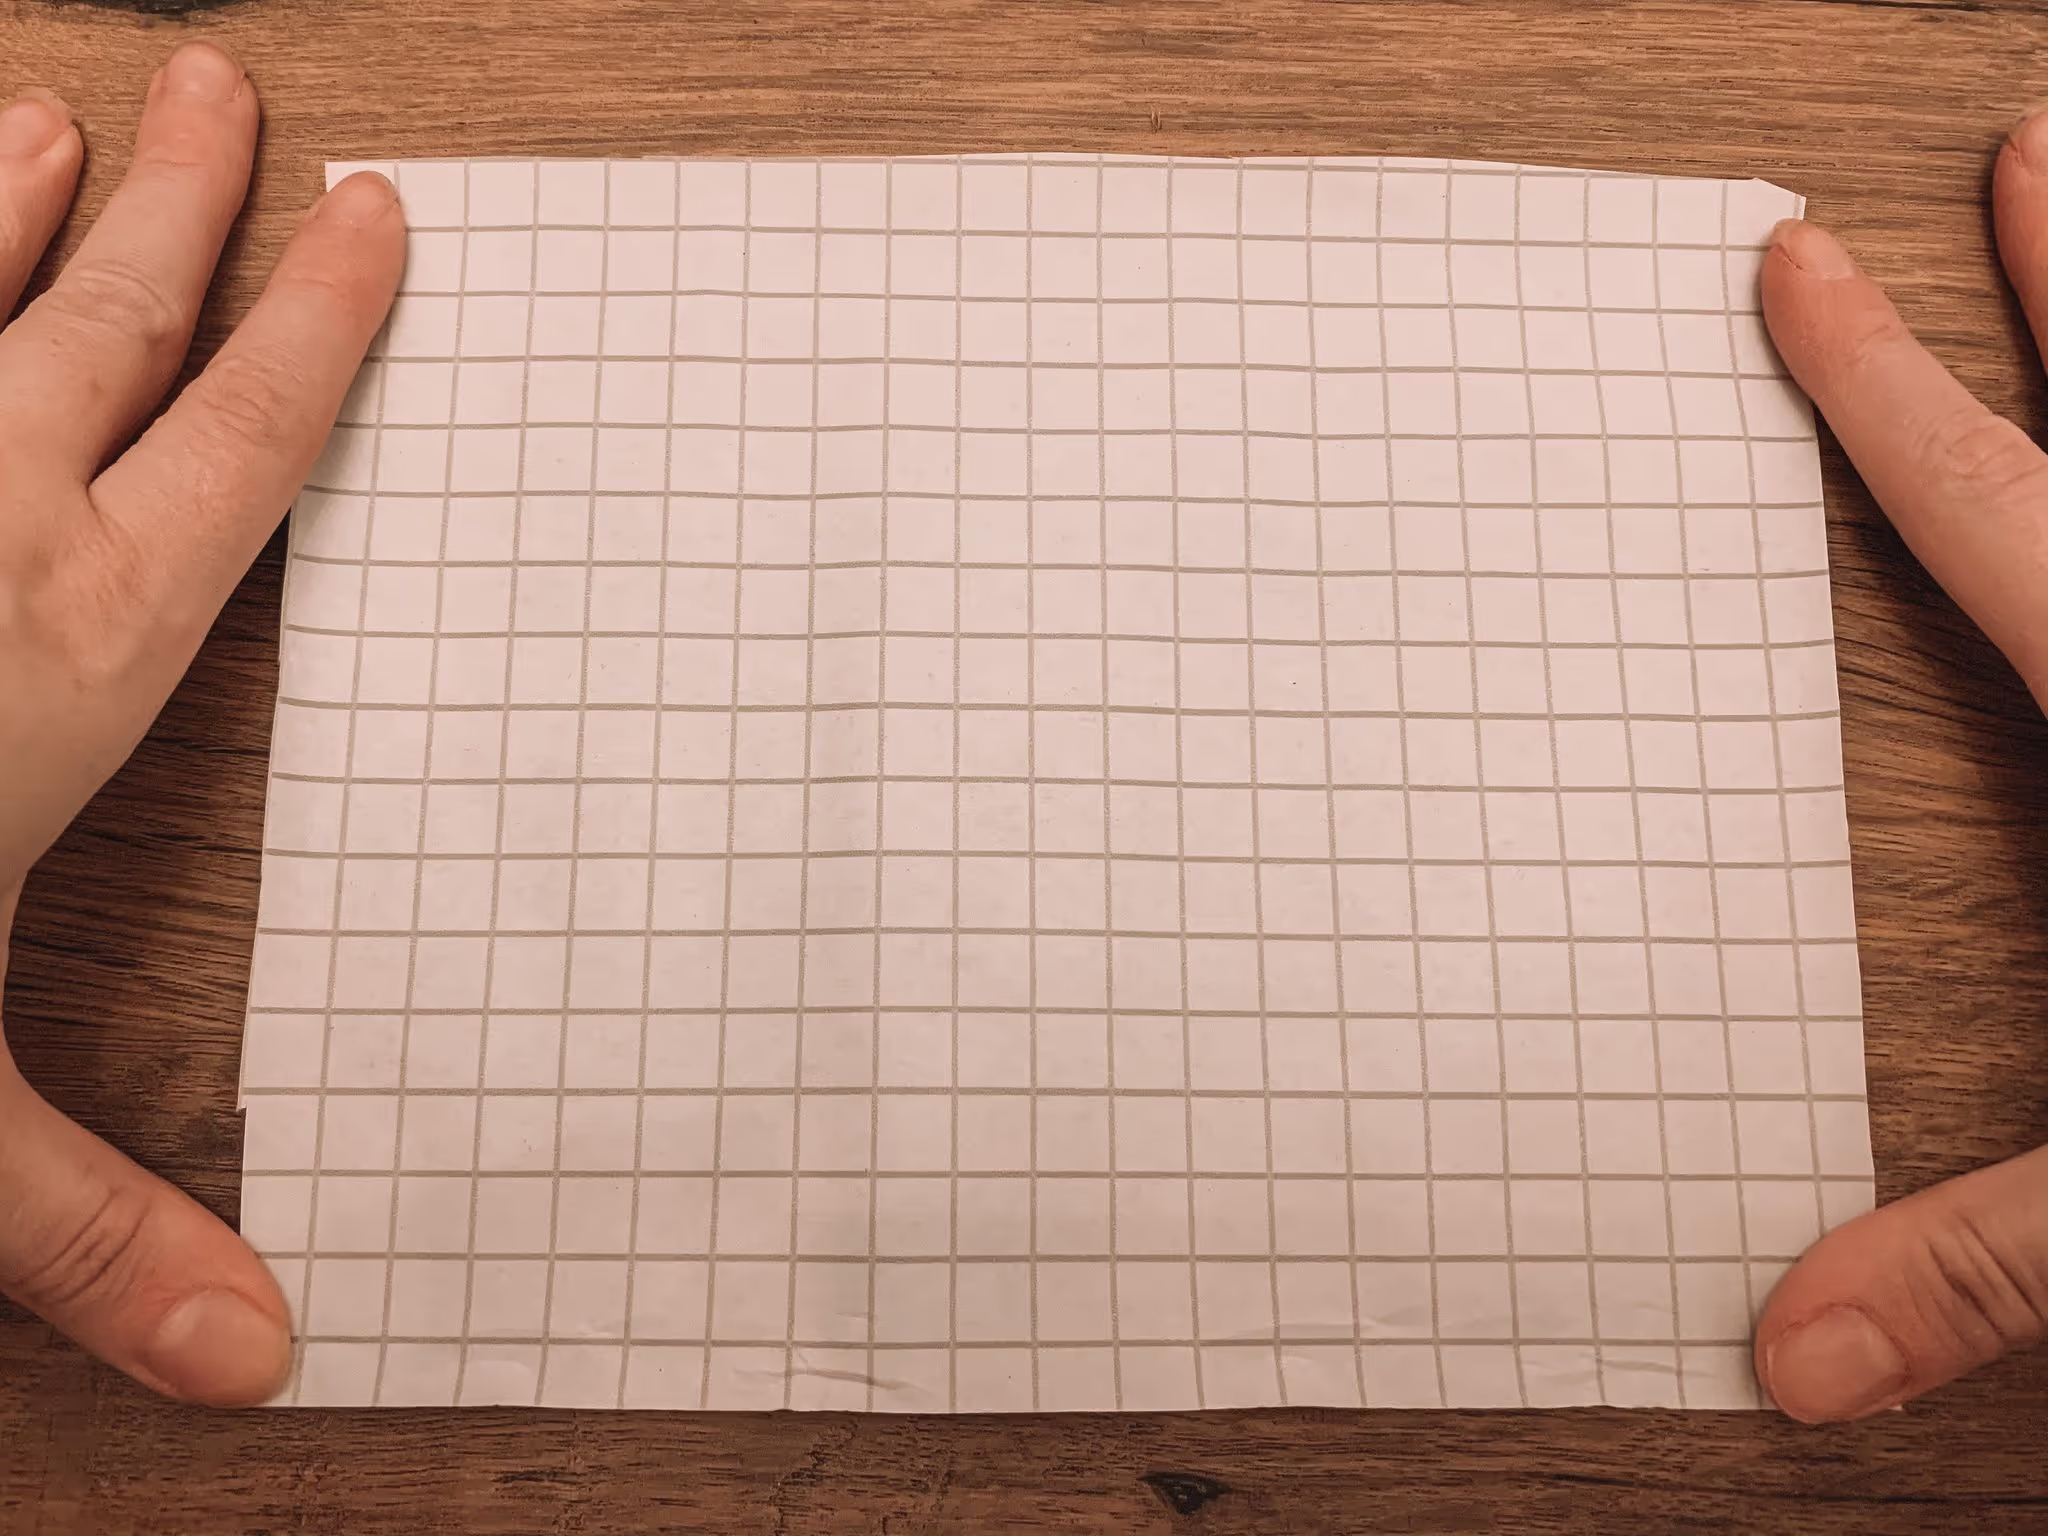
5. Peel off the backing paper of your first piece of sticky back plastic, so the sticky side is facing up and press down your heart outline in the center

6. Now the fun bit. How to mount dried flowers in a frame! Take your pressed flowers and decorate inside your heart. Keep your flowers on the inside of the heart outline. Try and imagine this pressed flower wall art actually hanging on the window and flower arrange with that in mind.
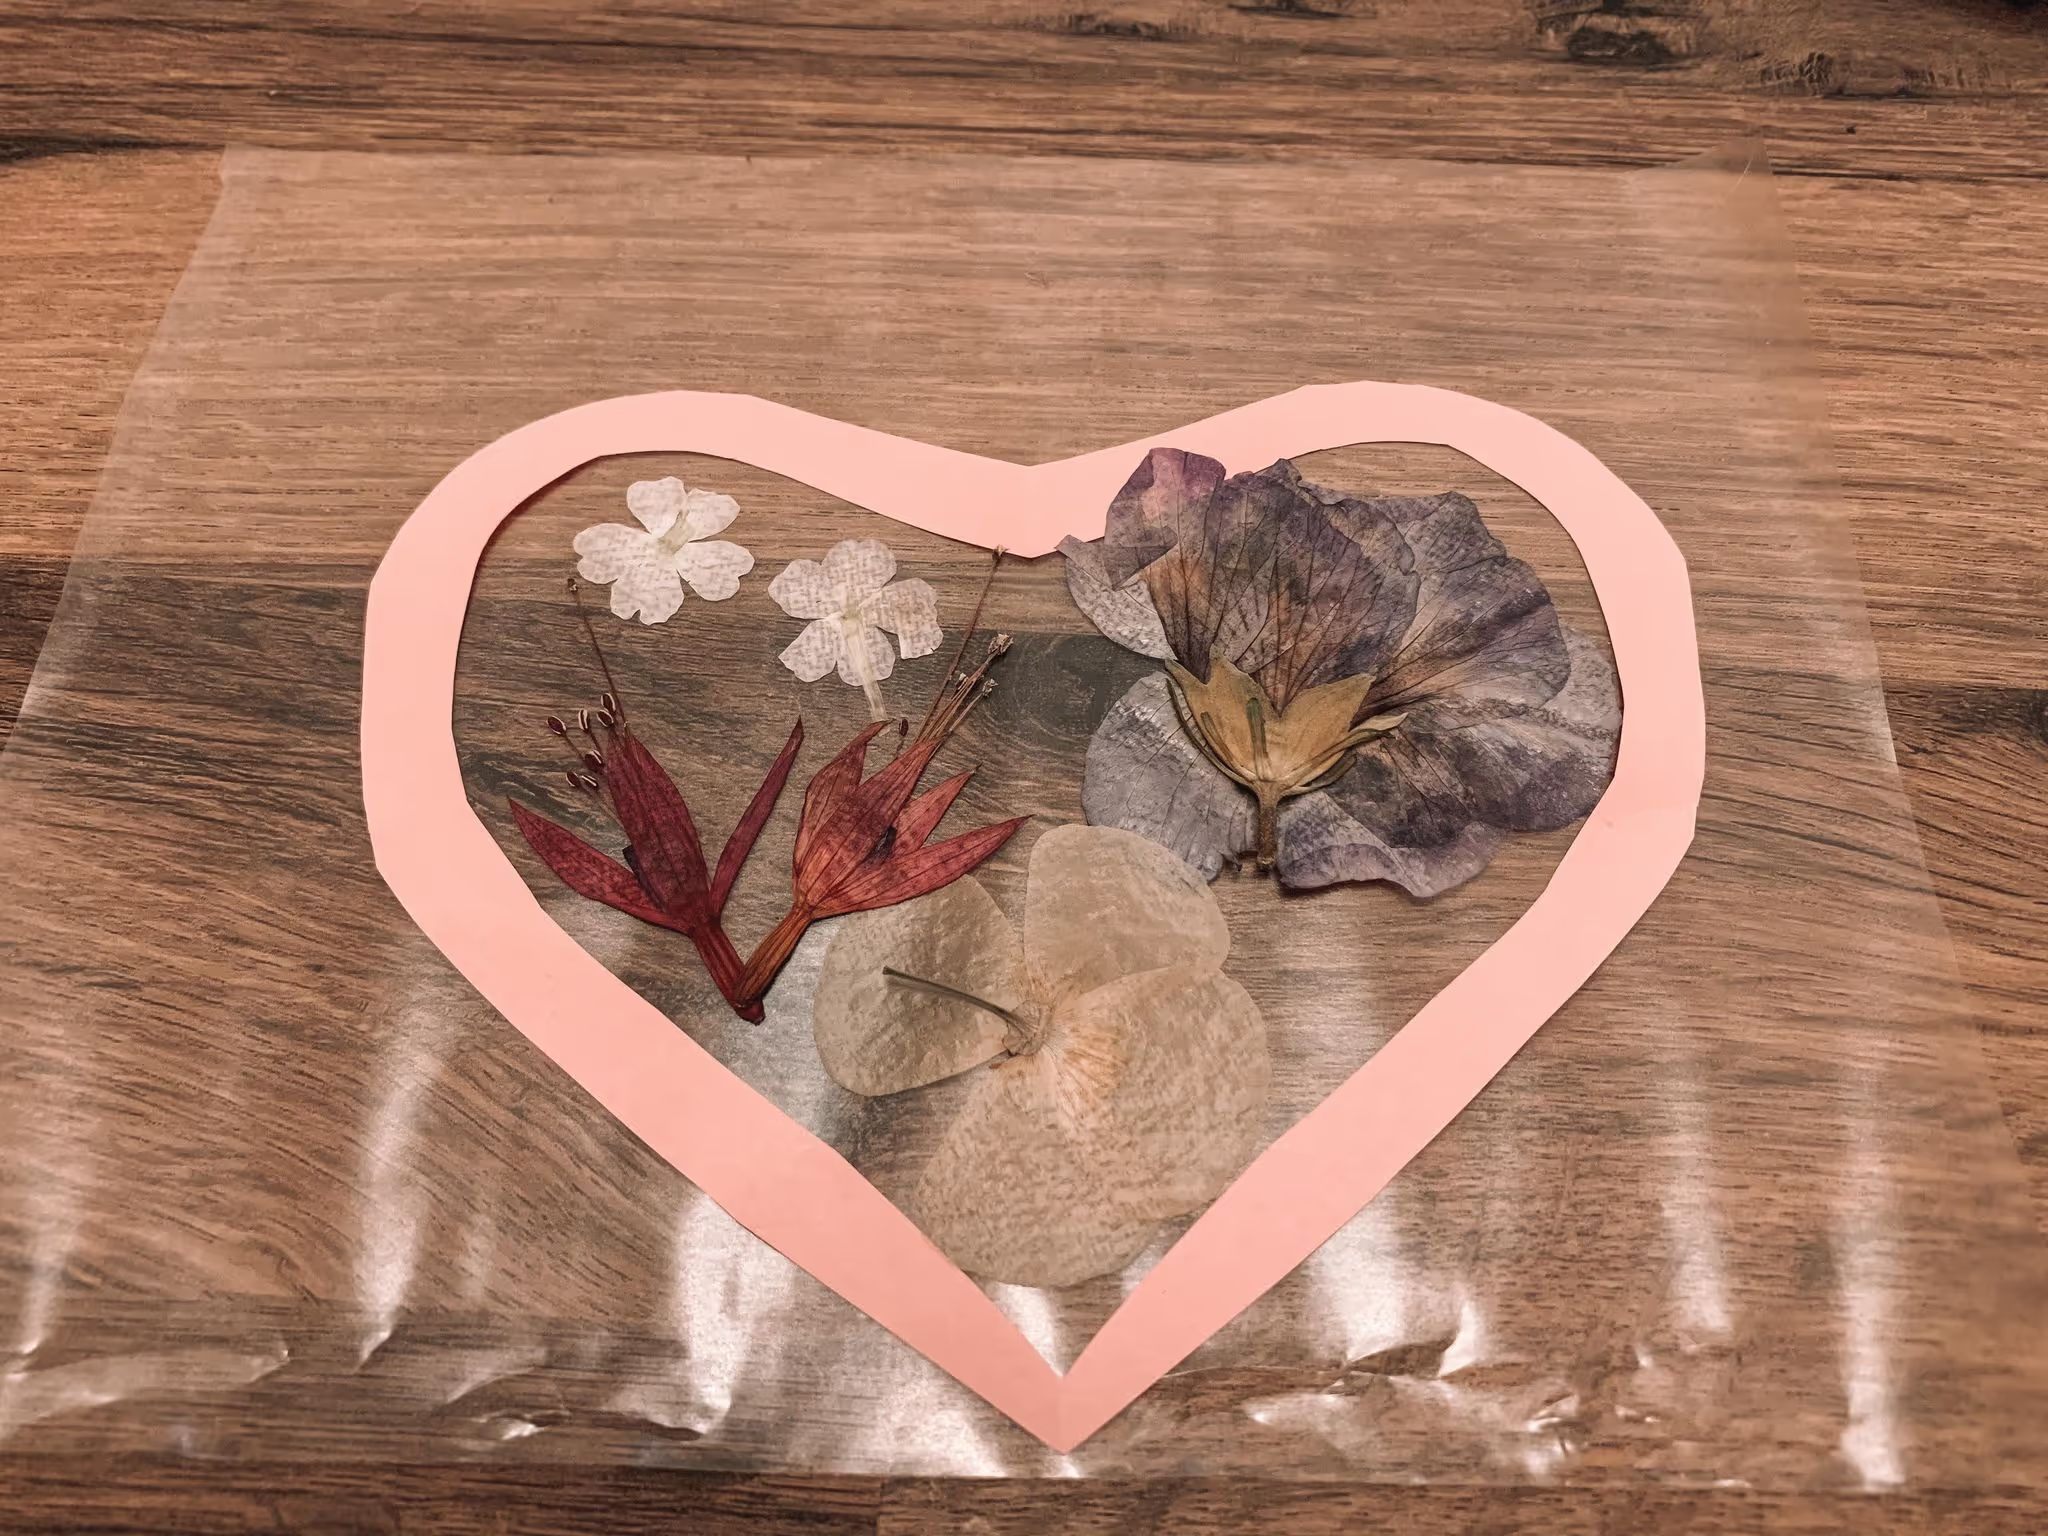
7. Now take your second piece of sticky back plastic. Peel off the backing paper and carefully stick on top of the pressed flower filled heart.
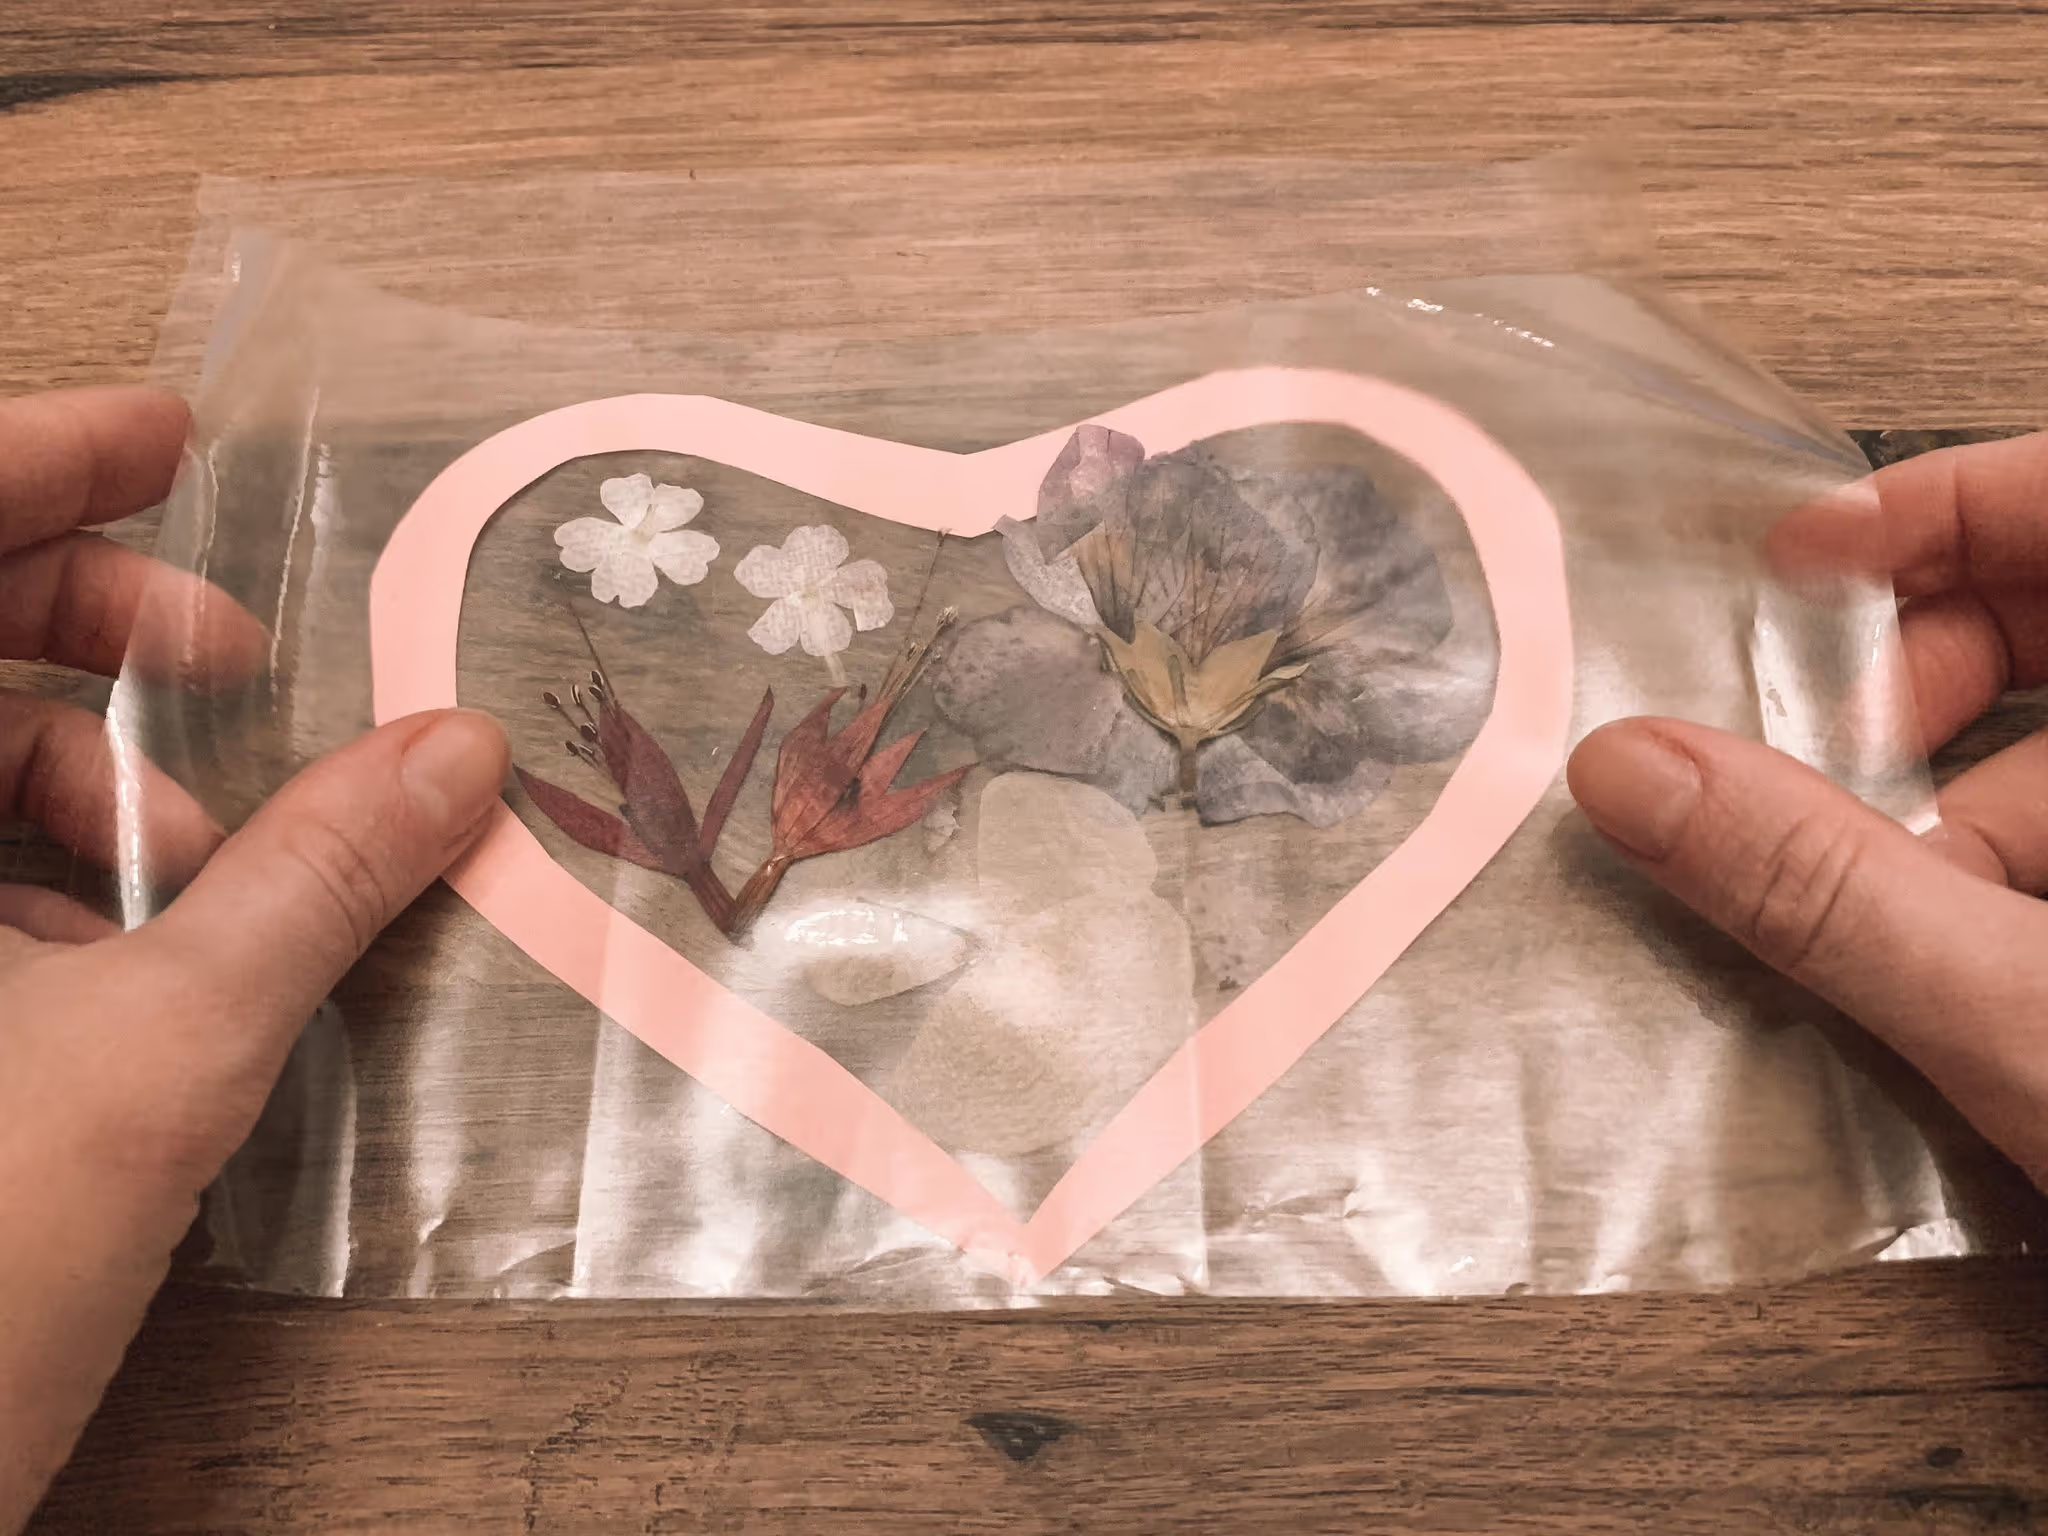
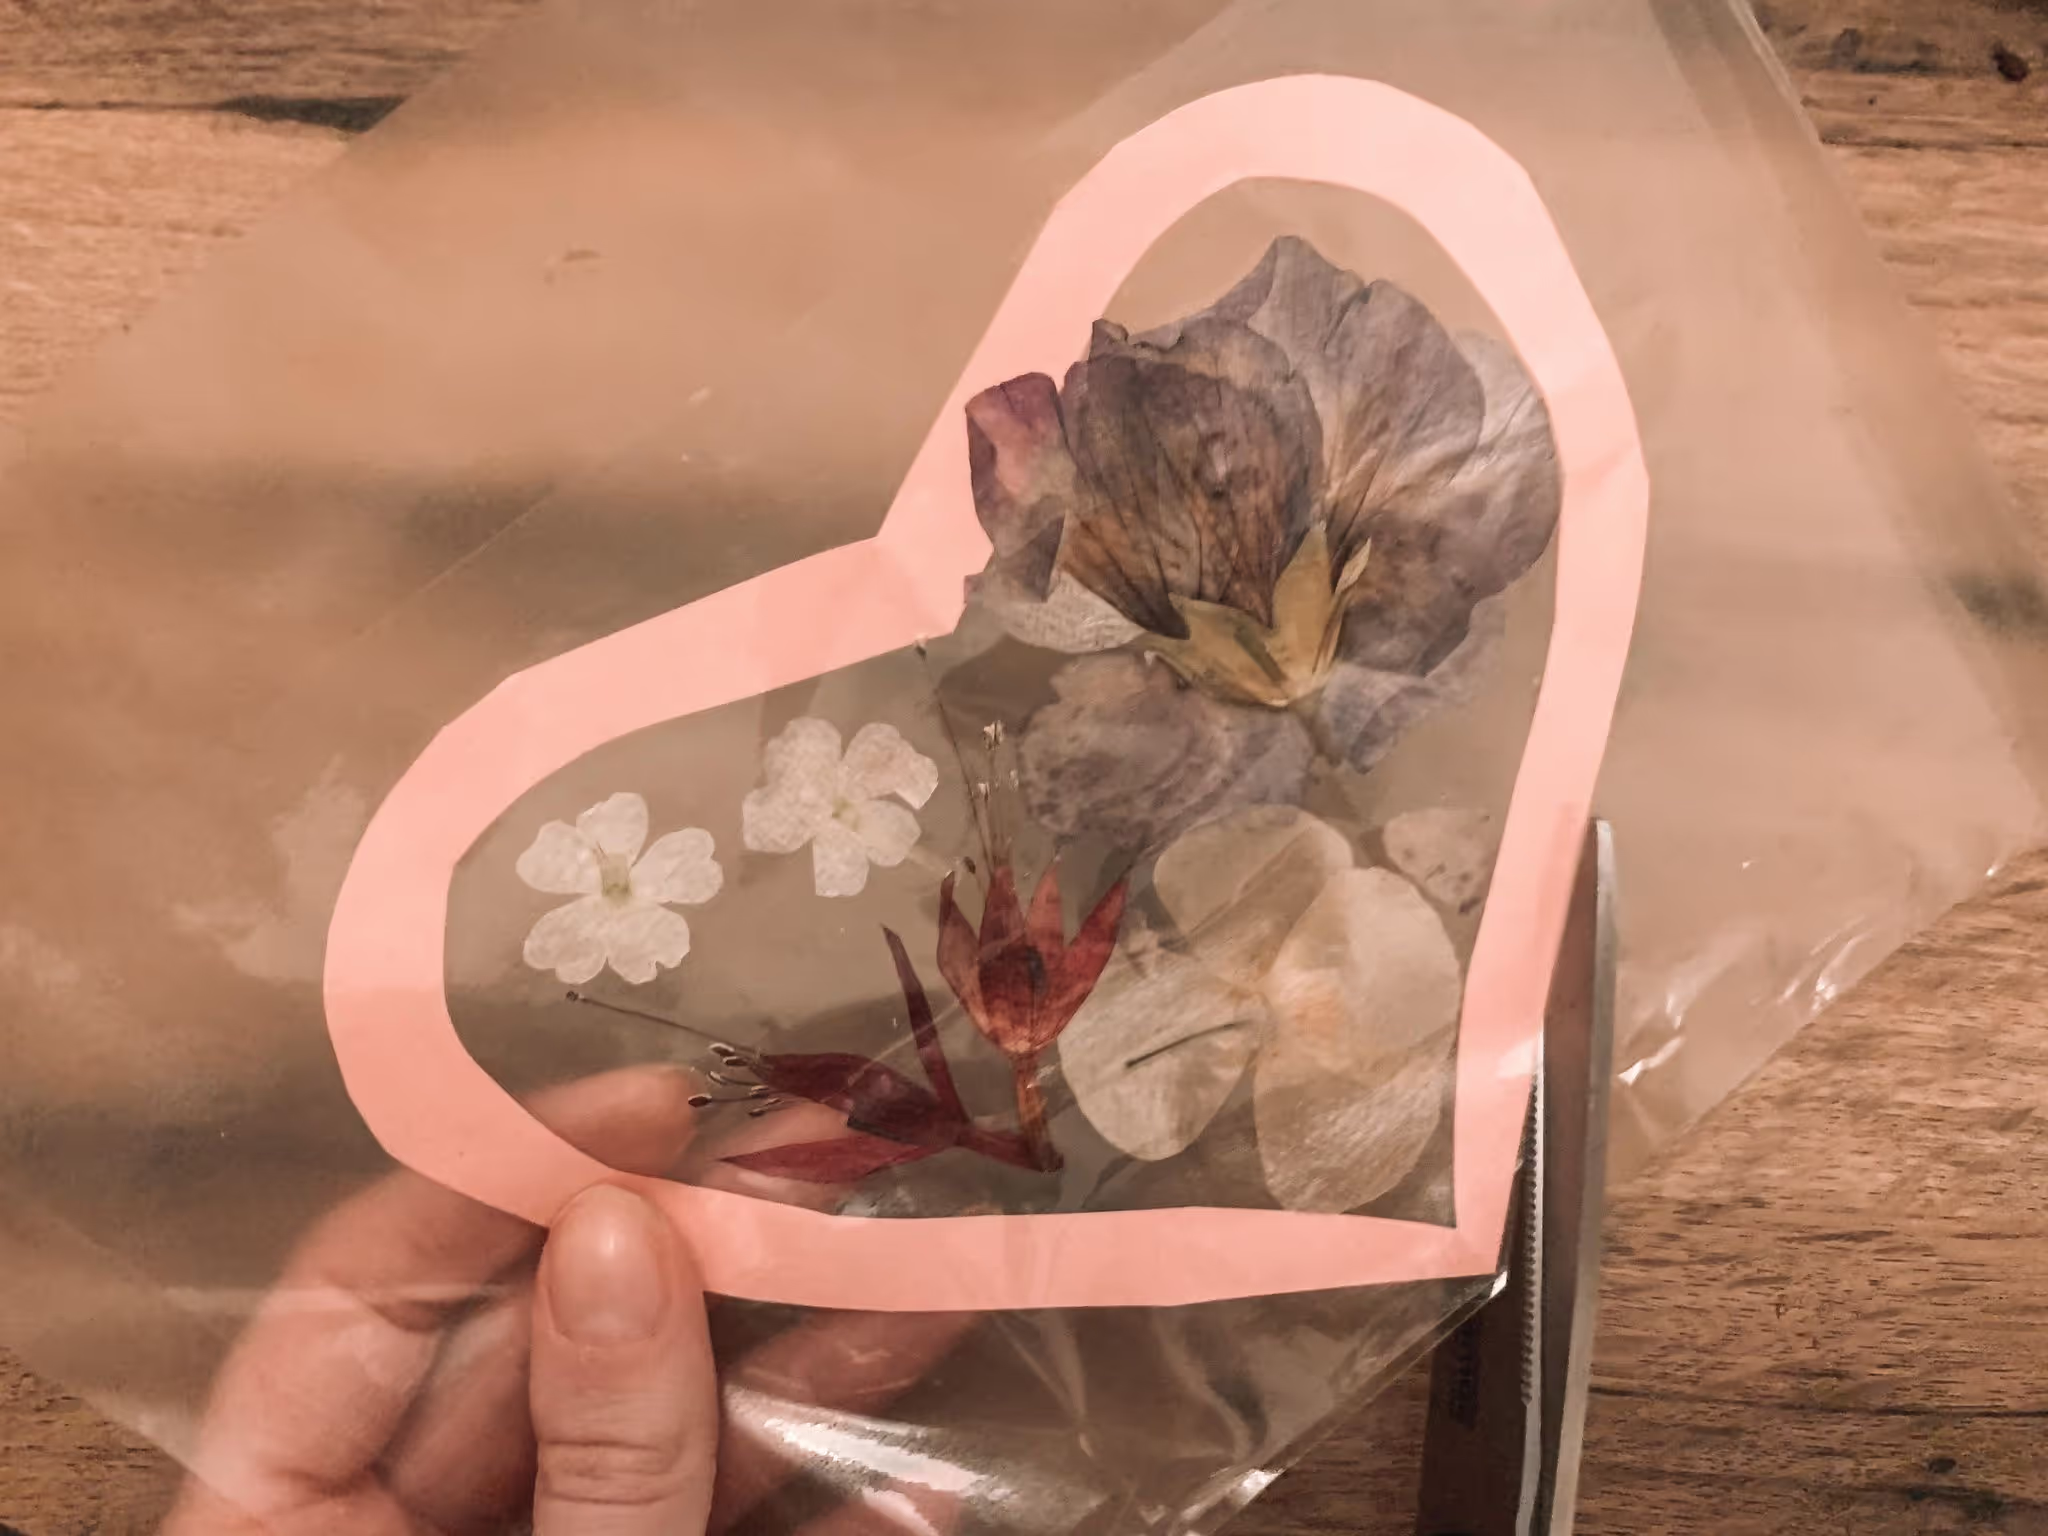
8. Carefully cut around the heart outline to remove excess sticky back plastic. Such simple flower art!
9. Now you can decorate your window. We used pink tack to blend in with our paper. Art is just better with flowers in art ;-)
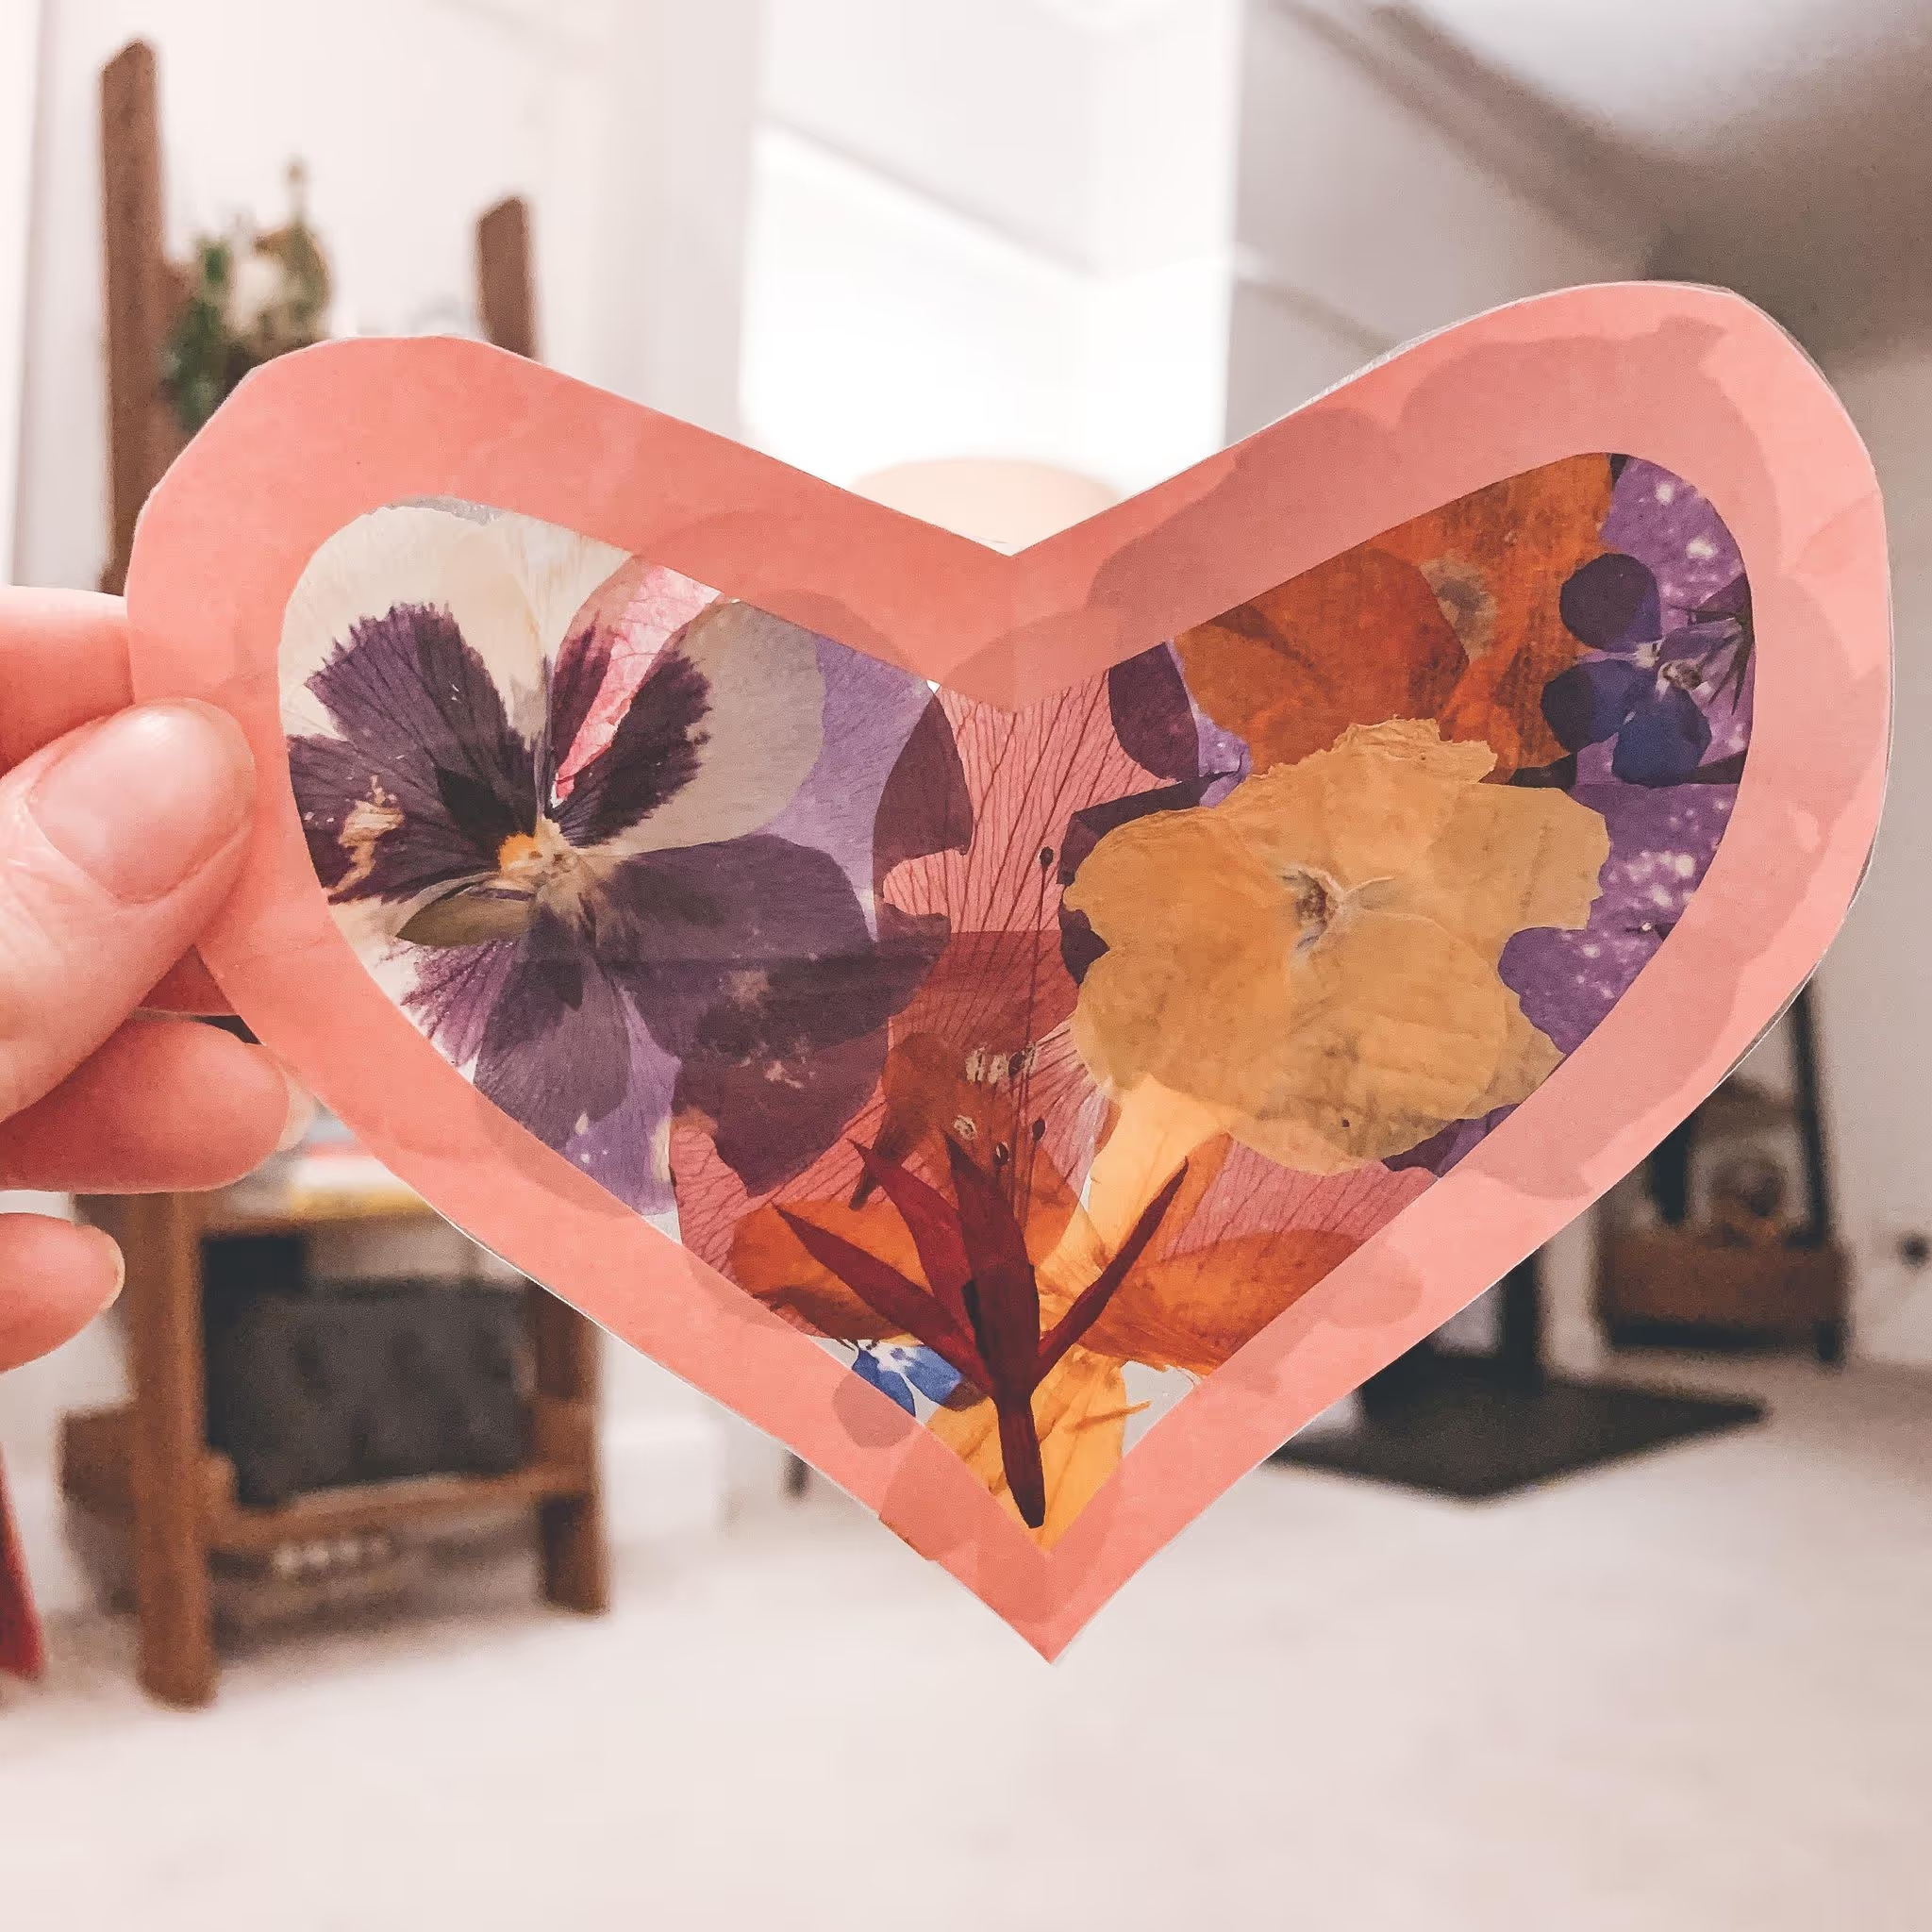
Let me know how you get on with your pressed flower suncathers and please, please PLEASE share and comment. It really means so much to me. Looking to the future .... I absolutely love daisies and when they come into season watch the MoG blog for some pretty amazing daisy craft ideas. Daisy projects 2021 here we come!
.avif)


.jpg)


.png)